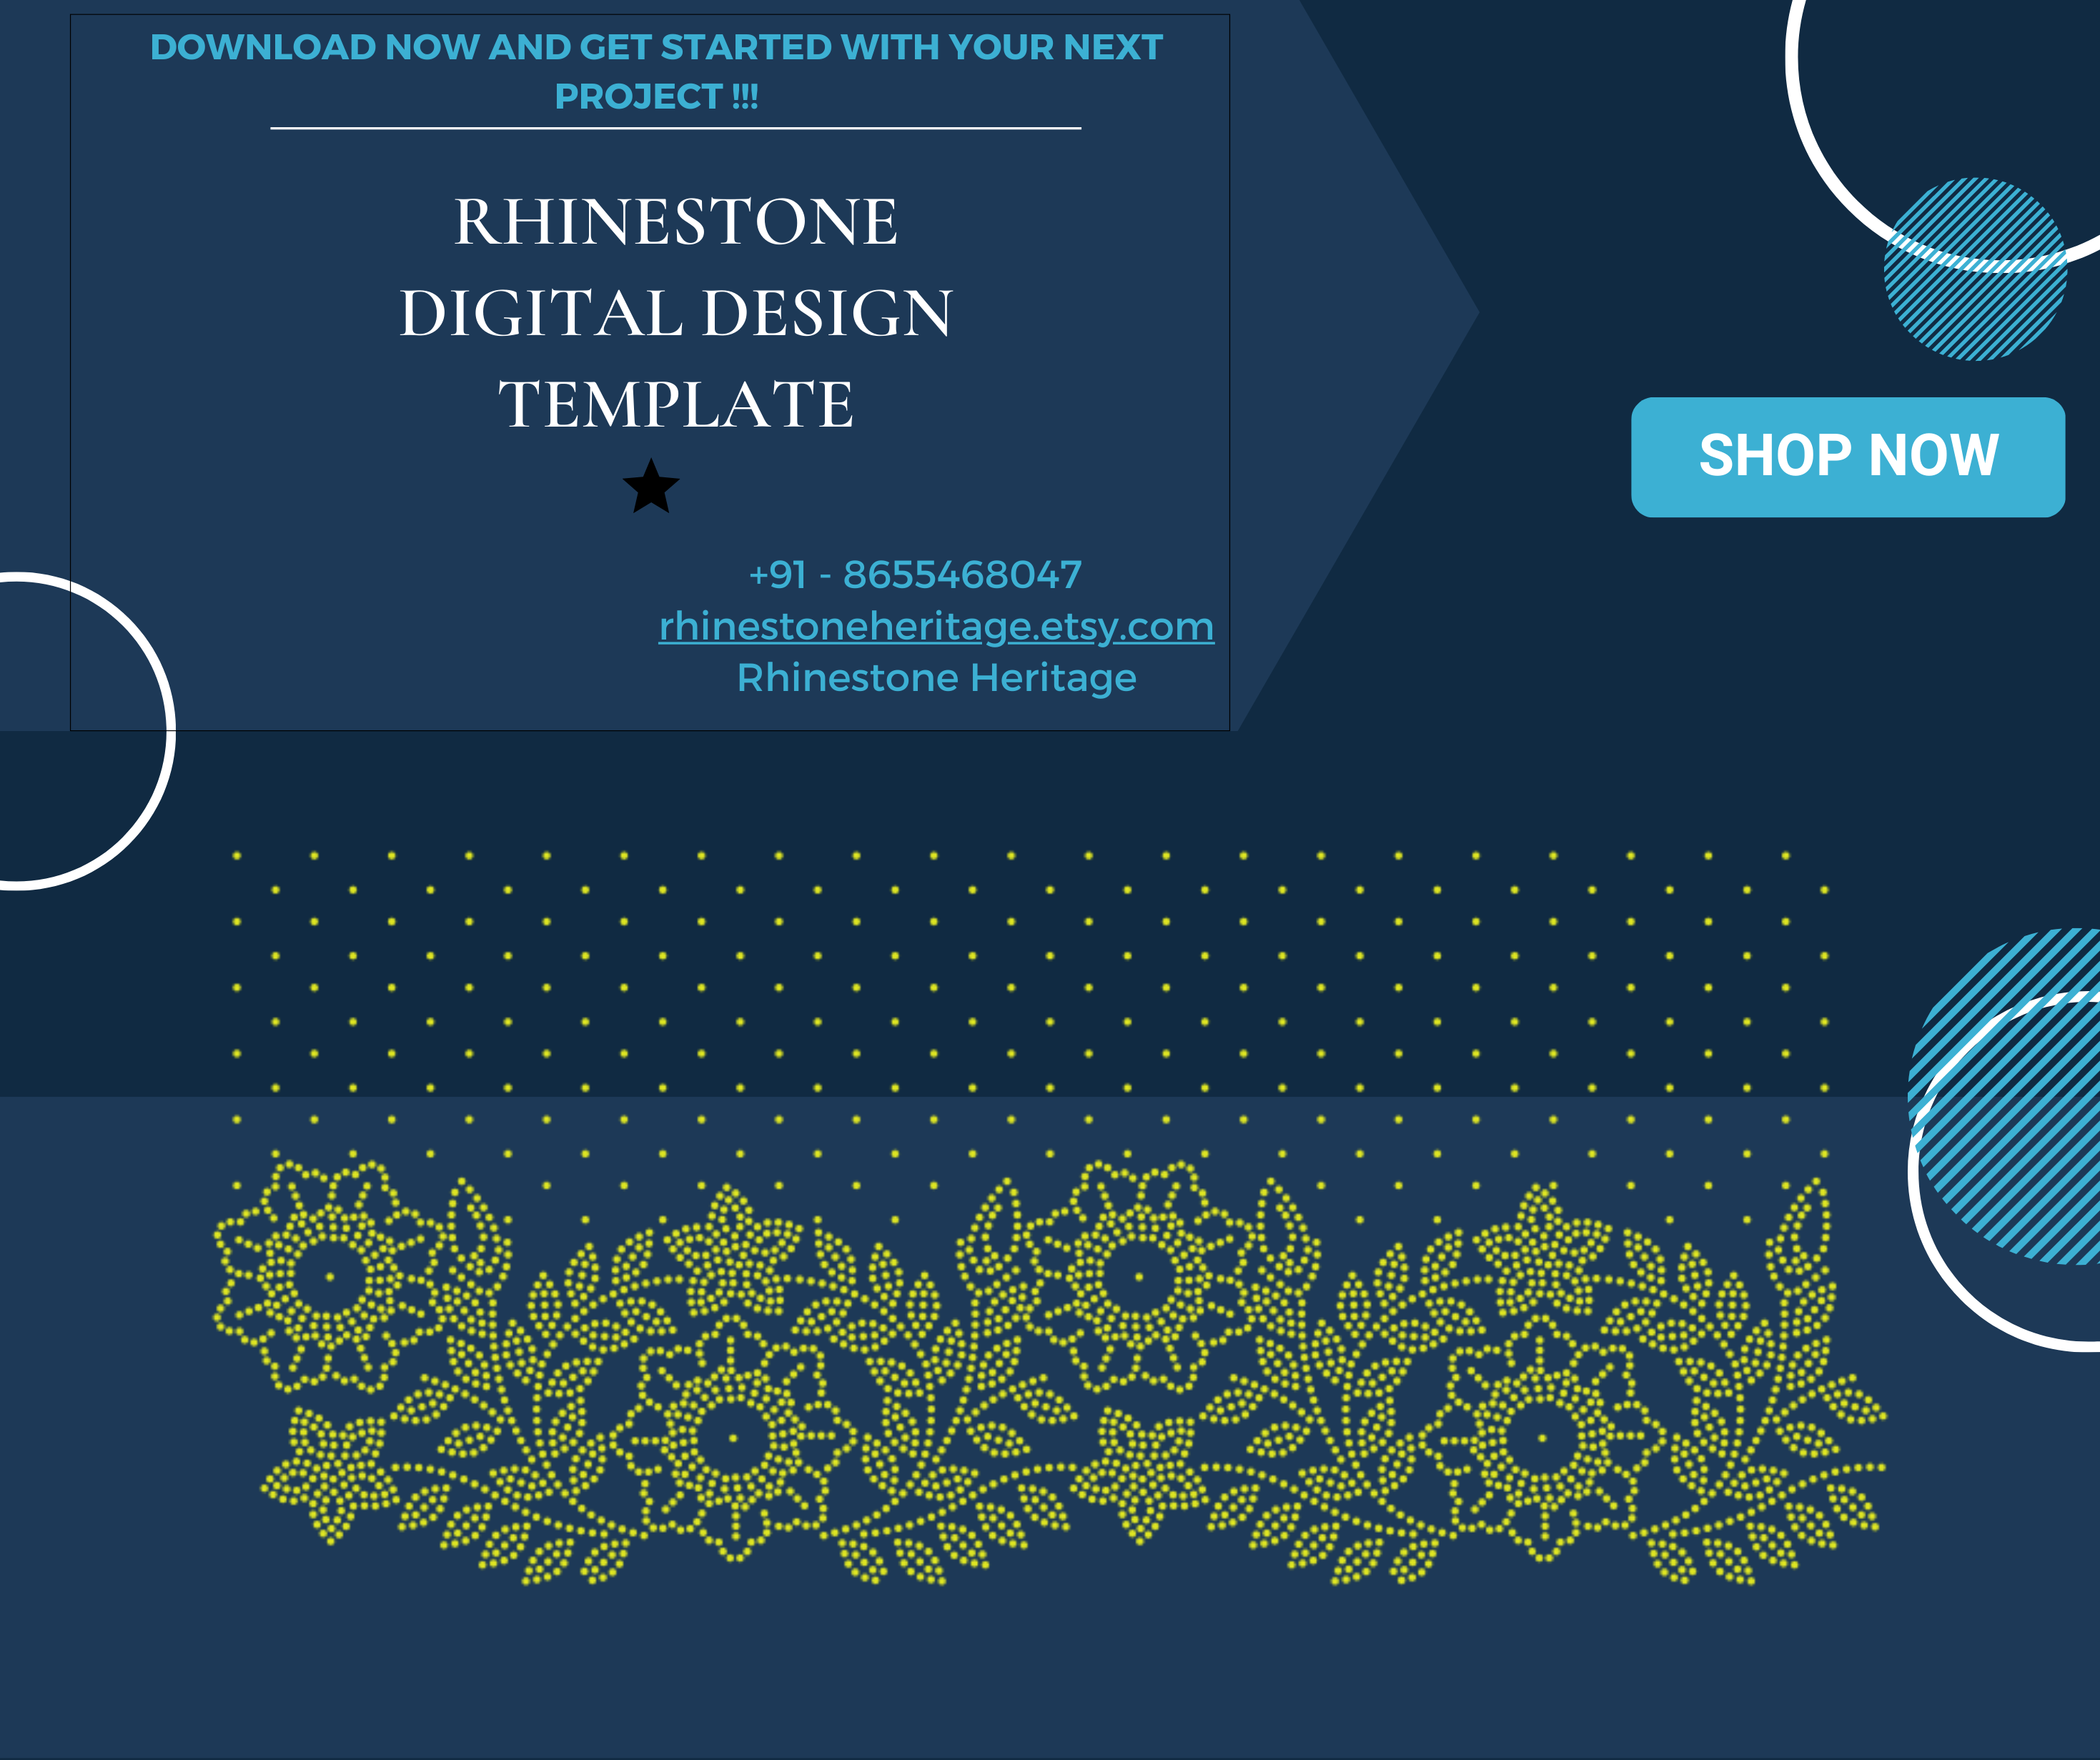
Introduction: Hotfix rhinestones are a fantastic way to add sparkle and glamour to your projects, whether you're creating custom apparel, accessories, or home decor. One of the key elements in working with hotfix rhinestones is using templates to achieve precise and stunning designs. In this ultimate guide, we'll walk you through the basics of hotfix rhinestones and provide you with essential tips on getting started with templates for a seamless crafting experience.
Understanding Hotfix Rhinestones
What are Hotfix Rhinestones?
Hotfix rhinestones are small, faceted gems with a heat-activated adhesive on the back. They are commonly used to embellish fabric, leather, paper, and other materials. The heat from an applicator or iron activates the adhesive, allowing the rhinestones to securely attach to the chosen surface.
Types of Hotfix Rhinestones
Hotfix rhinestones come in various sizes, colors, and finishes. The most common types include crystal, colored, metallic, and special effects rhinestones. Choosing the right type for your project depends on your design and the materials you're working with.
Getting Started with Templates
1. Design Software
Start by choosing a design software that allows you to create templates for your hotfix rhinestones. Popular options include Adobe Illustrator, CorelDRAW, and Silhouette Studio. Ensure that the software supports vector graphics for precise design control.
2. Template Size and Material
Determine the size of your template based on your project requirements. Consider the size and placement of your design on the final product. Templates can be made from various materials, such as stencil film, cardstock, or even special heat-resistant transfer paper.
3. Creating Your Design
Use the design software to create a vector image of your desired rhinestone pattern. Keep in mind that the template represents the placement of the rhinestones, so make sure to accurately position each element. You can experiment with different shapes, arrangements, and spacing to achieve the desired look.
4. Setting Stone Size and Density
Specify the size and density of the hotfix rhinestones in your design. This information is crucial for accurately placing the stones and ensuring a cohesive and balanced final result.
5. Cutting the Template
Once your design is ready, use a cutting machine or precision tools to cut out the template. Ensure clean and precise edges for accurate stone placement.
6. Applying the Rhinestones
Place the template on your chosen material and carefully arrange the hotfix rhinestones within the designated areas. Use a hotfix applicator or iron to activate the adhesive and secure the rhinestones in place. Follow the manufacturer's guidelines for temperature and pressing time.
7. Removing the Template
After securing the rhinestones, gently peel away the template. Be cautious not to disturb the arrangement of the stones. Any remaining adhesive can usually be removed with a gentle wash or by using adhesive remover.
Tips for Success
- Experiment with different stone sizes and colors to add depth and dimension to your designs.
- Practice on a scrap piece of fabric or material before working on your final project.
- Keep your workspace well-ventilated when using heat-activated adhesives.
Conclusion
Mastering the art of hotfix rhinestones and templates opens up a world of creative possibilities. Whether you're embellishing clothing, accessories, or home decor, the precision and sparkle of hotfix rhinestones can take your projects to the next level. Follow this ultimate guide, and soon you'll be crafting dazzling designs with confidence and flair. Happy crafting!


