

Creating a rhinestone template using designs is a fun and creative process. Here's a step-by-step guide to help you make your own rhinestone template:
-
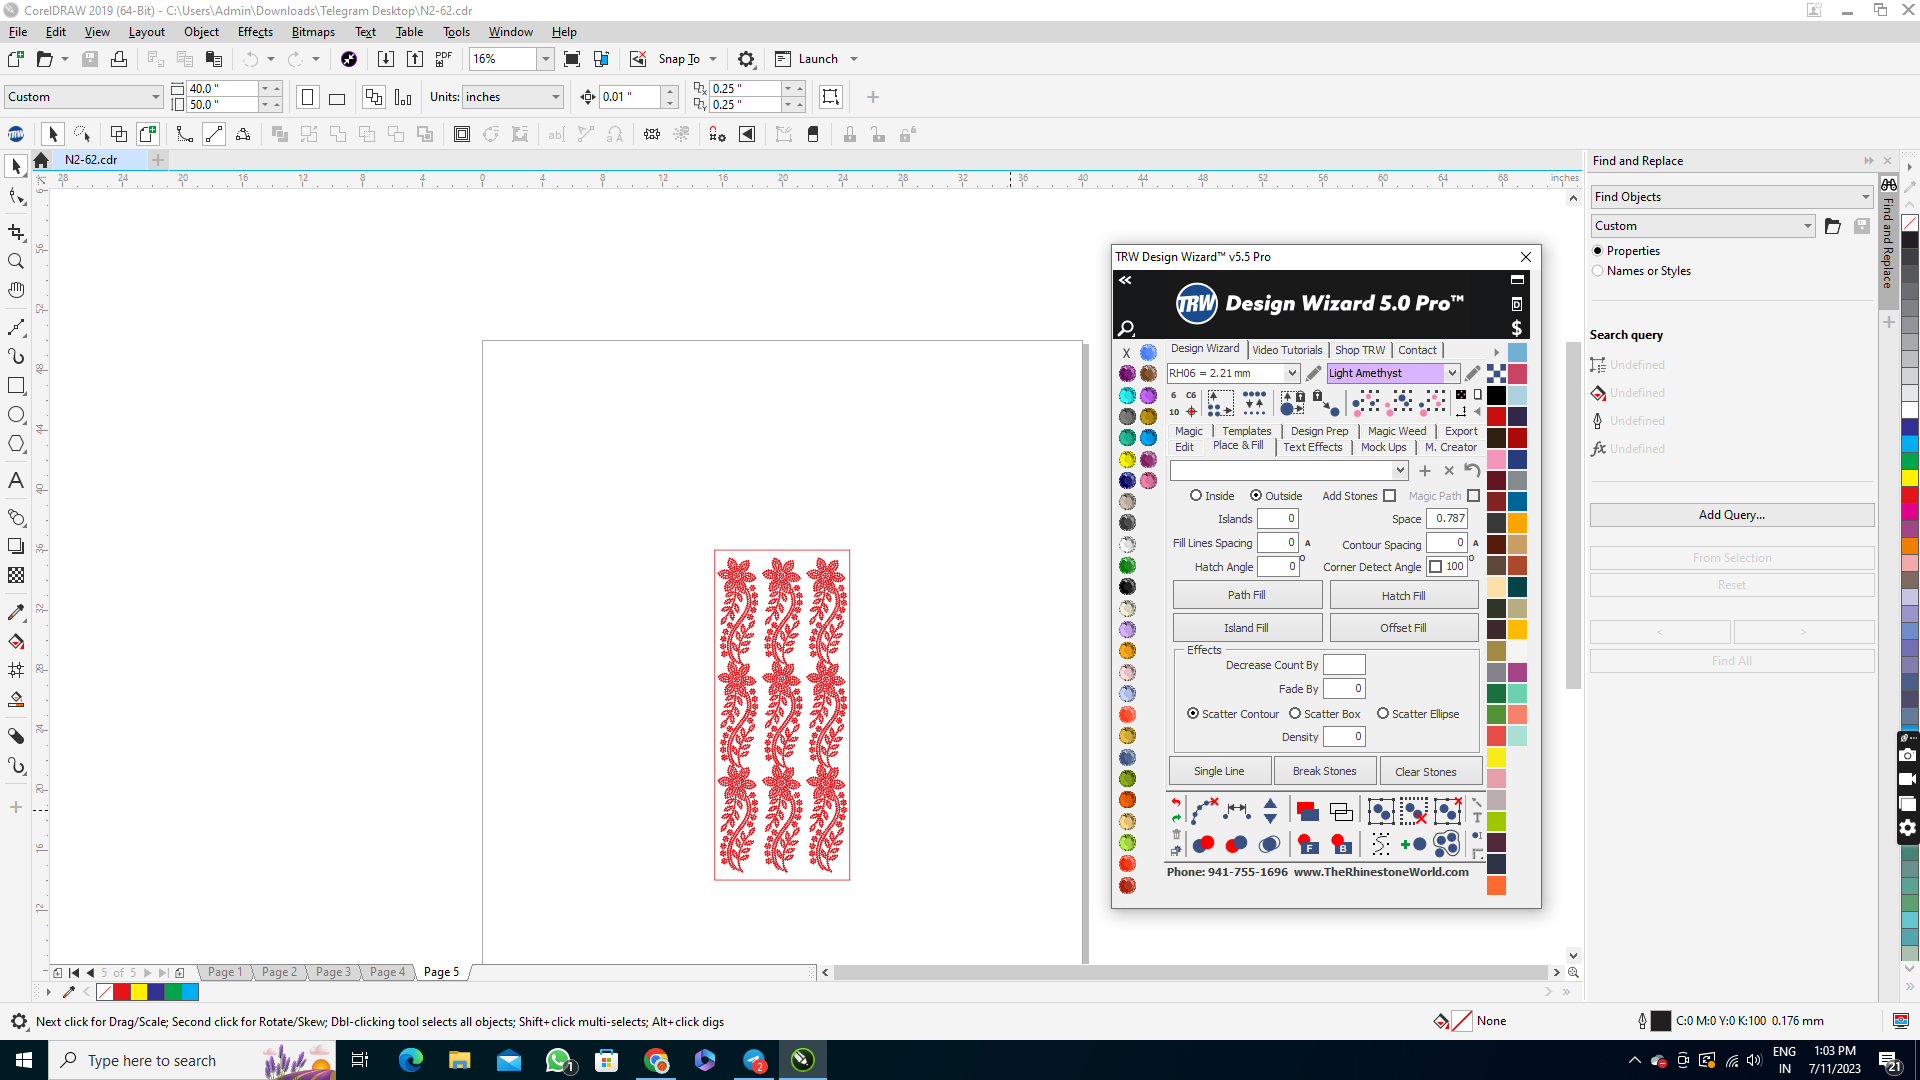
Choose Your Design: Start by selecting a design that you want to turn into a rhinestone template. You can find designs online, create your own using graphic design software, or even hand-draw your design on paper. Keep in mind that simpler designs with clear lines and shapes work best for rhinestone templates.
-
Transfer the Design: Once you have your design, transfer it onto a template material. You can use specialized template materials like plastic or Mylar sheets, or even repurpose materials like transparency sheets or sturdy cardstock. Trace or draw your design onto the template material using a fine-tip permanent marker or a pen.
-
Mark the Rhinestone Placement: Determine where you want to place the rhinestones on your design. Use a pencil or a water-soluble marker to mark the areas where the rhinestones will be applied. These marks will act as guides for placing the rhinestones accurately.
-
Choose the Rhinestones: Select the rhinestones that you want to use for your design. Consider the size, color, and shape of the rhinestones to complement your design. You can choose from various rhinestone options, such as flat-back or hotfix rhinestones, depending on your preference.
-
Apply the Adhesive: Apply a suitable adhesive to the marked areas on your template. You can use a specific rhinestone adhesive or a clear-drying fabric glue. Follow the instructions provided by the adhesive manufacturer for the best results.
-
Place the Rhinestones: Using a rhinestone applicator tool or tweezers, carefully place the rhinestones onto the adhesive spots following your design's markings. Gently press each rhinestone into place to ensure proper adhesion. Continue this process until all the marked areas are filled with rhinestones.
-
Let it Dry: Allow the adhesive to dry completely according to the manufacturer's instructions. This ensures that the rhinestones are securely attached to the template.
-
Trim the Template: Trim any excess template material around the design, leaving a clean and defined template shape.

Congratulations! You have successfully created your own rhinestone template using your chosen design. Now you can use this template to easily replicate the design on various surfaces, such as keys, clothing, or accessories, by applying rhinestones according to the template's markings.
Remember to experiment, have fun, and let your creativity shine through as you design and create stunning rhinestone templates.